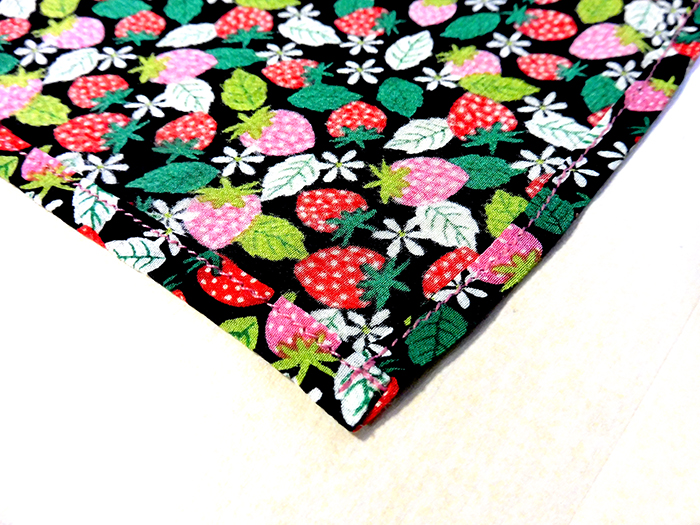
Making a simple square scarf may seem quite easy. And it really is easy. However, if you do not know the basics of using a sewing machine, you probably will give up on using a machine, and end up sewing by hand. I will explain what you need to know to avoid having trouble with the machine when sewing a lightweight silk piece of fabric.
1. Use a special needle for lightweight fabric.
First off, you will have to replace the machine needle with a thinner one for lightweight fabrics. Size 11/75 is good enough for lightweight silk. Size 9/65 is also fine. If you only have the regular sized 14/90 needles, just change the needle to a brand new one. A brand new needle has a sharper point that will minimize problems.
Do you replace the needle only when it’s broken? A needle’s sharp point can be ruined over time. Using a blunt needle can push and pull threads and cause damage. Lightweight fabrics can be easily affected by the needle’s condition. Therefore, you must change the needle before you start sewing delicate fabrics.
2. Rip the fabric instead of cutting.
Heavy fabrics should never be ripped, but lightweight fabrics need to be ripped when they need to be cut straight. Preparing an intricate soft fabric to have a completely straight edge is necessary before sewing a straight line. But be careful when you are ripping vertically to the selvage since the horizontal fibers can be tougher and can create unwanted thread pull. Try ripping a little bit at the edge, but swiftly, to test and make sure that ripping will not damage the fabric.
Why should you never rip heavy fabrics? When heavy fabrics such as denim are ripped to create a straight edge, they tend to shape the rectangular fabric into a diamond shape. When this happens, you will have to block (to pull) the fabric diagonally to fix the threads in the fabric back to the original shape. Though this works for some medium-weight fabrics, I don’t recommended it for heavy fabrics since the fabric can get tired as you block.
3. Do not press the double-fold before sewing.
If it was a medium to heavy weight fabric, you should press the folded fabric with an iron before sewing. However, you should never press folds on lightweight fabrics. If you don’t press, you can achieve a better and neater double fold finish. Pressing folds on lightweight fabrics prior to sewing will only create a mess. You do not need to mark the fold lines by a chalk either especially if it’s a straight line narrower than 3/4 inch. Trust your eye. If you really need some kind of marking, then only use your fingernails to make a crease line.
The reason why you should not press is because if you press the fold lines with an iron, you not only make a crease line, but it will also tame the thread in the fabric into an unwanted direction. Taming the fabric’s thread is necessary if you are sewing a curved corner, but never for sewing a straight line or a square corner on a lightweight fabric.
4. Double-fold the edge of the fabric as you sew.
By using your fingernails, push the edge of the fabric into a folded line to create a double fold, and hold it with your fingers as you sew.
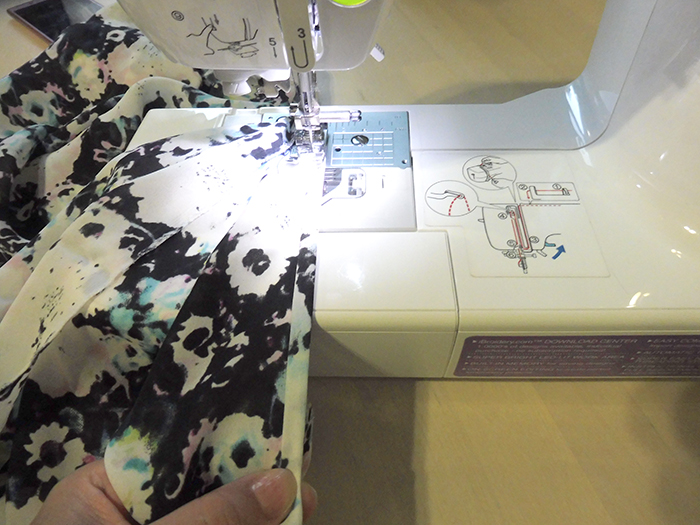
5. Be prepared to sew the corner.
When you sew the corner of a lightweight fabric, the whole corner can sink down into the hole as the needle pushes the fabric down into the hole to stitch. Lightweight fabric can be so intricate and flexible that this problem may occur. You might think that the hole should be smaller to prevent this from happening, but if the hole was smaller, there would be an issue when sewing a thicker fabric such as the double-fold part of denim.
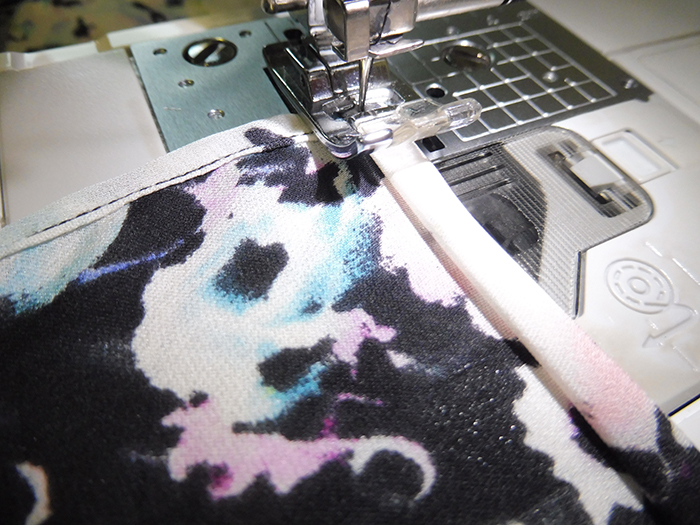
6. Stitch the corner with a piece of soft paper underneath.
A great way to prevent this issue from happening is to use a soft piece of paper underneath the fabric. This will allow the feed dog* to effectively move the fabric and prevent the corner from sinking down. Newspaper is fine if you’re using a dark colored fabric. However, I don’t recommend using newspaper for white or light colored fabric because there’s a chance the ink will transfer to the fabric.
* Feed dog is the teeth-like metal around the hole that goes up and down to move the fabric to the back as you sew.
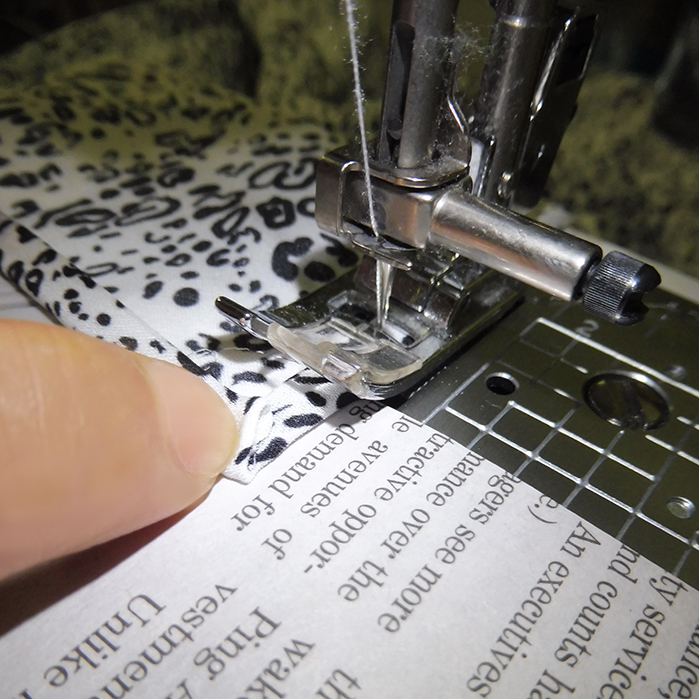
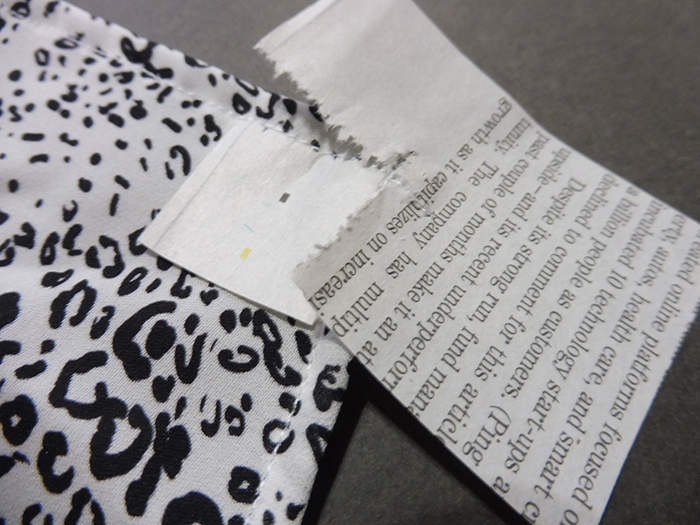
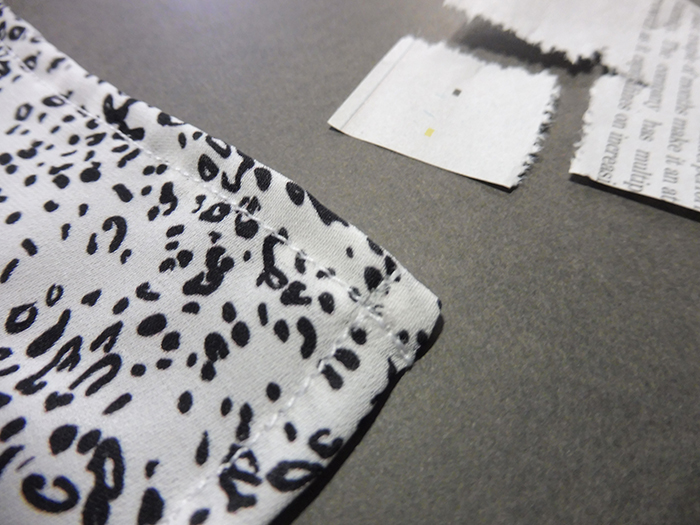
Place a piece of newspaper below the fabric as the needle nears the corner. Then, stitch over to the end of the fabric over the double-folded hem. Back stitch about four stitches, turn the fabric 90 degrees, back stitch about four stitches, and stitch down the other hem. Stitch all the hems and corners with one strike: try not to cut the thread at all while sewing around the fabric.
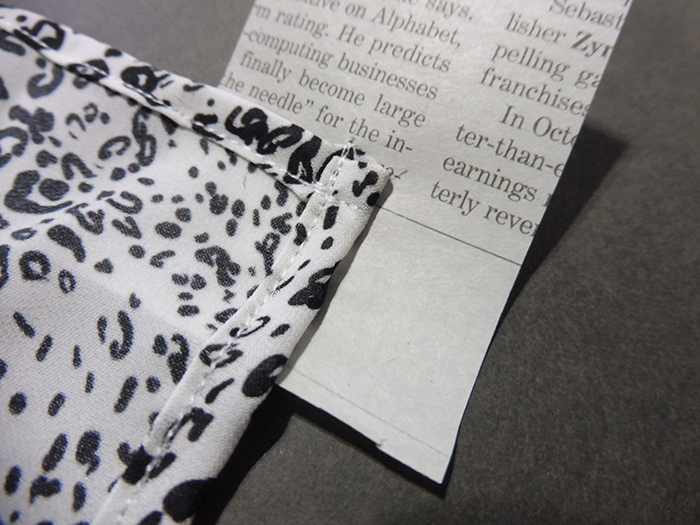
Remove the soft paper from the corner by separating it along the perforation you’ve just created. Repeat this on all four corners.
7. Press the fabric on low temperature.
It is always important to finish your creation with an iron to add a brand new, fresh look. Always use a piece of thin cotton fabric or brown paper over the fabric to prevent the iron from directly having contact with the fabric.
Great tips – thank you very much!!
My pleasure! Thank you for your comment! 🙂