It has been a great opportunity for skilled designers to utilize what they’ve got since the Pandemic started. Some of them including factory workers—the real designers who can actually make patterns and sew—had been underappreciated, diminished, and taken advantage of. And they have been called “seamstresses” while getting minimum wage. Some designers with privilege and status who cannot sew used to rely on these “seamstresses,” and they still do.
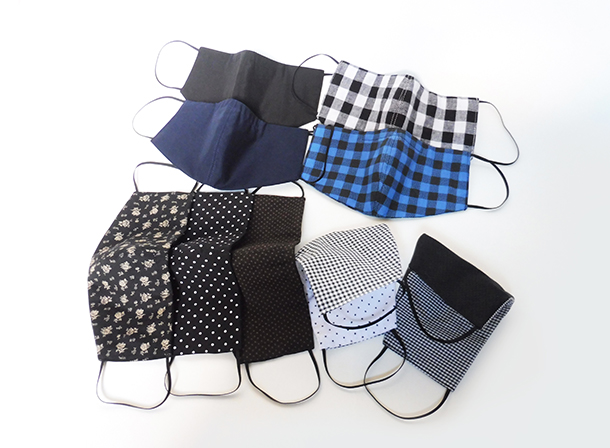
While fashion houses with privileged designers took time to arrange their work-from-home seamstresses for their face mask productions, the real designers who can sew were able to produce face masks immediately and sell them almost instantly. No one designer has the ability to produce thousands of face masks alone, and that is okay. As long as they take part in global initiatives and do what they are capable of, those efforts add up.
Below is a list of some steps that I took to make my original face masks along with some thoughts that came up while I was creating them. It’s not really a sewing instruction. It’s more of a list of tips for advanced designers. Hope it helps you create facemasks for yourself and others.
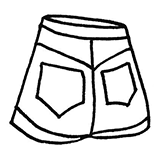
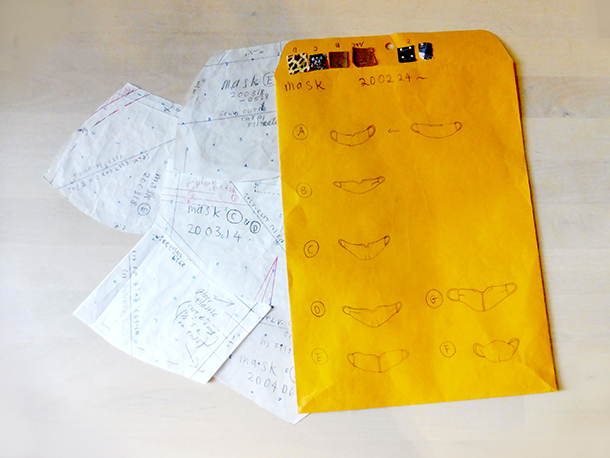
1. Make your own pattern
The best part of sewing is creating your own design. Do you like the widely available ordinary face mask patterns out there? If you do, then use that. But if you are a real designer, you know that making your own pattern is a fundamental part of the whole process of designing.
I’m against using patterns created by others. In any case, to me, the basic face mask patterns out there seemed too large–not only for me, but for anyone. “You must cover your nose” doesn’t mean you must cover the bridge of your nose too. As long as you cover your nostrils, it should do the job especially if there’s a nose wire that fits the face mask snug to your face.
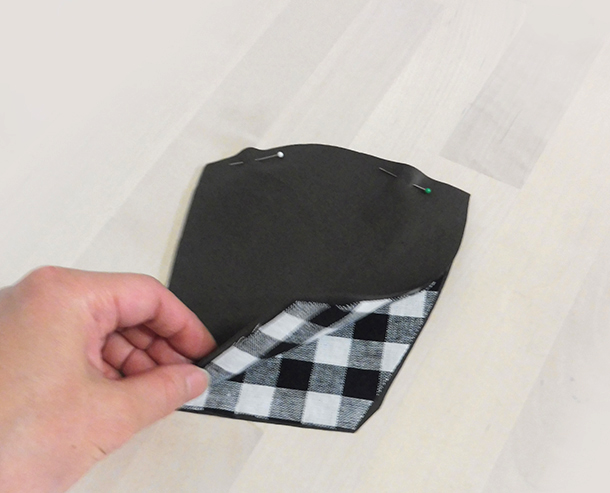
2. Cut the fabric, filtration, and elastic
There is no need to pin the pattern piece down to the fabric before cutting the fabric pieces. It’s a very small piece of paper. Holding the pattern piece down with your hand will be good enough. The only time you need to pin the fabric together before cutting along a pattern piece is when you are matching plaid or striped fabrics.
Don’t even think about wasting time to mark around the pattern with a chalk for cutting lines or seam allowances. Marking with a chalk is occasionally necessary, such as when you are making a tailored jacket, or when you are cutting a long straight line, but other than that, it’s usually just a waste of time, energy, and chalk.
3. Press the fabric with an iron before you start sewing
It’s a good idea to press the fabric pieces after cutting to freshen them up. It’s especially beneficial for face masks for disinfection purposes. Just don’t forget to set the temperature lower for polyester filtering than for cotton to prevent it from melting.
4. Start stitching
You don’t need to place pins on layers of fabrics when you stitch them except for when you are matching plaid fabrics. Forget about even basting. That’s not necessary for these small pieces of fabric.
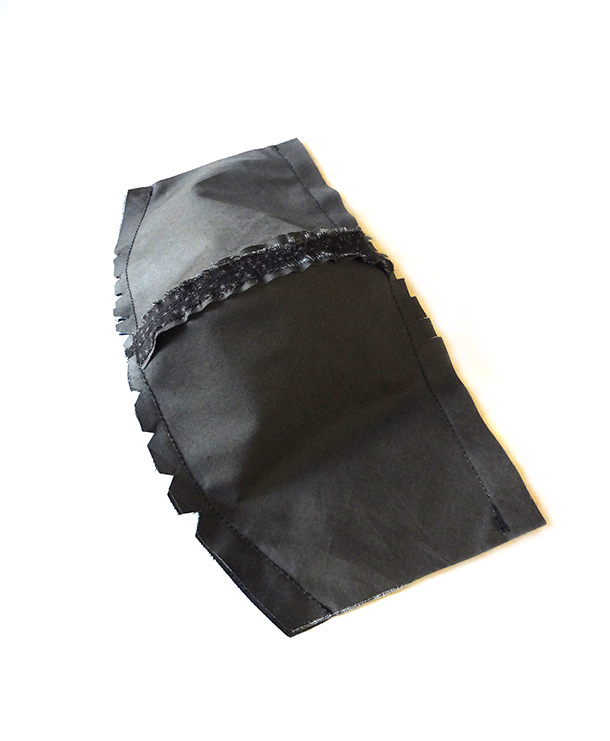
5. Clip the seam allowances
It’s very important to clean the edges by clipping the curved seam allowances before turning the fabric inside out.
6. Turn the fabric inside out and press
Pressing fabric here is crucial. Yet, many designers overlook the act of pressing while they are working on a sewing project. Some decide to do the top stitch to keep the seam allowances in place, but even then, pressing beforehand is necessary. Pressing not only makes creases on the edges where needed, it also keeps the clipped seam allowances’ each thread from the fabric fixed in place.
7. Apply nose wire
In order for me to make face masks during the pandemic, I tried to use only materials I already had at home, even nose wire. While we didn’t know in the beginning how the novel coronavirus spreads, I at least knew that everything I already had at home was virus-free.
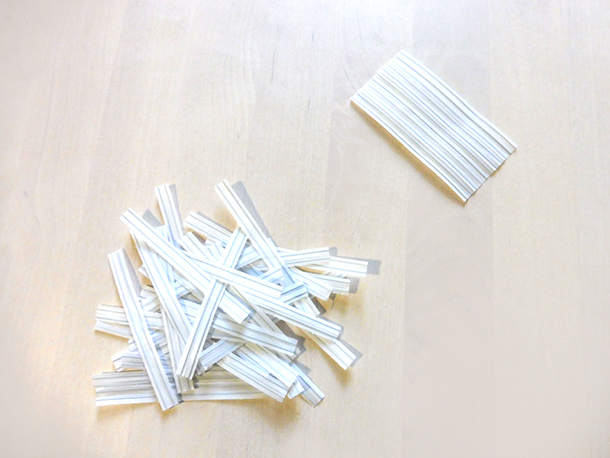
For nose wire, I used the wire ties that come with the boxes of clear plastic food storage bags. I already had several boxes of a few different brands at home, and I had to choose the best ones.
Some of those wires were made with paper, and others were made with plastic. Paper ones could become deformed after washing, so the plastic ones were definitely better and more durable. Size was another issue. Some brands’ wire ties were too short to be used as nose wires.
The nose wire can be inserted along the seam allowance at the center top. This is where using pins comes in handy. You may stitch around the nose wire and add a few stitches over the wire.
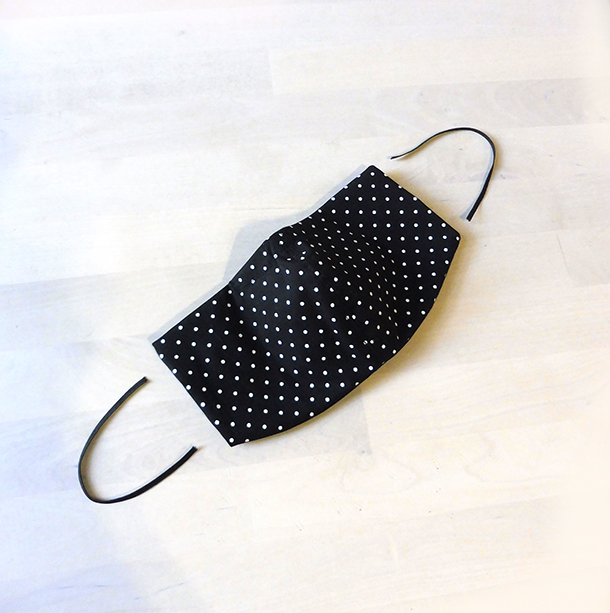
8. Insert elastics and close the sides
I didn’t realize that I had a big roll of black soft elastics perfectly suitable for the face masks, hiding in my inventory. I must have gotten a good deal on it from one of the fabric stores going out of business in the NYC’s Fabric District more than a decade ago. Otherwise, it’s unusual for me to buy a whole roll. When I found this roll in front of me on my shelf, I felt that I was destined to make face masks at that very moment.
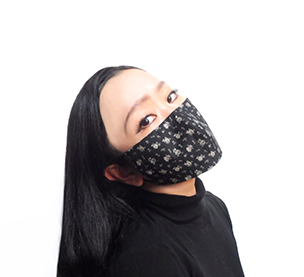
If you prefer to purchase than to make, you can get the face masks made by me from this link!